
 Norrie Millar is a freelance comics artist/cartoonist and has worked with Titan Comics, DC Thompson and Aces Weekly, as well as self publishing his own work. He spoke at the last Pecha Kucha and shared his guide for how to make comics, but in this guest blog he goes a little more in-depth with the process. Norrie is currently available for work & commissions, you can reach via email.
“Comics will break your heart” I forget who said that or even, if anyone actually said it. It’s a phrase that regularly gets pushed around and it’s a phrase that takes on different meanings for different people but basically, like most things in the world, making comics can be hard work.
You are the director, the actors, the cinematographer, the editor, the stylist. Have you written the script? Yep, you’re the screen writer now too. Got dialogue and cool noises? Welp! – looks like you are the sound design team as well. Except this isn’t film, this is comics, you have to tell this story in a static image, a single image that can be scrutinised at the viewers leisure.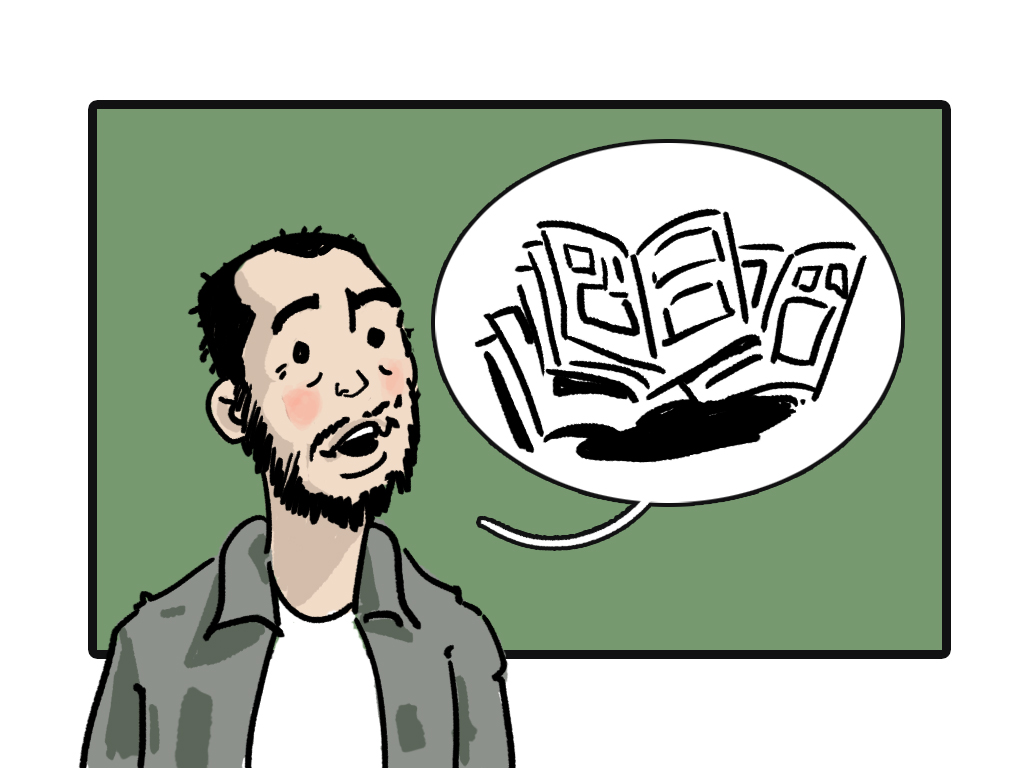
But what actually goes into making a comic? When I was younger, I put zero thought into it. I just assumed comics were made, presented as the finished article, Ta-da! Here’s another Asterix book! As I’ve come to understand it, that’s not quite right. Almost, but not quite. The genius of making comics is that there is about a million different ways to go about it. Is there a way that works for you? Cool! Go for it. Is it different from the way I do it? Probably. But is the result the same? Have you made a sweet comic? You bet your butt you have. So here is a quick breakdown of my process for making a comic.
First of all, we start with an idea. What is the story? Maybe it’s just a punchline, maybe it’s a dense exploration of flawed political systems exacerbating the strained relationship between the military and science. I don’t know, man, it’s your story. However, this is the first step -figuring out what the story is.
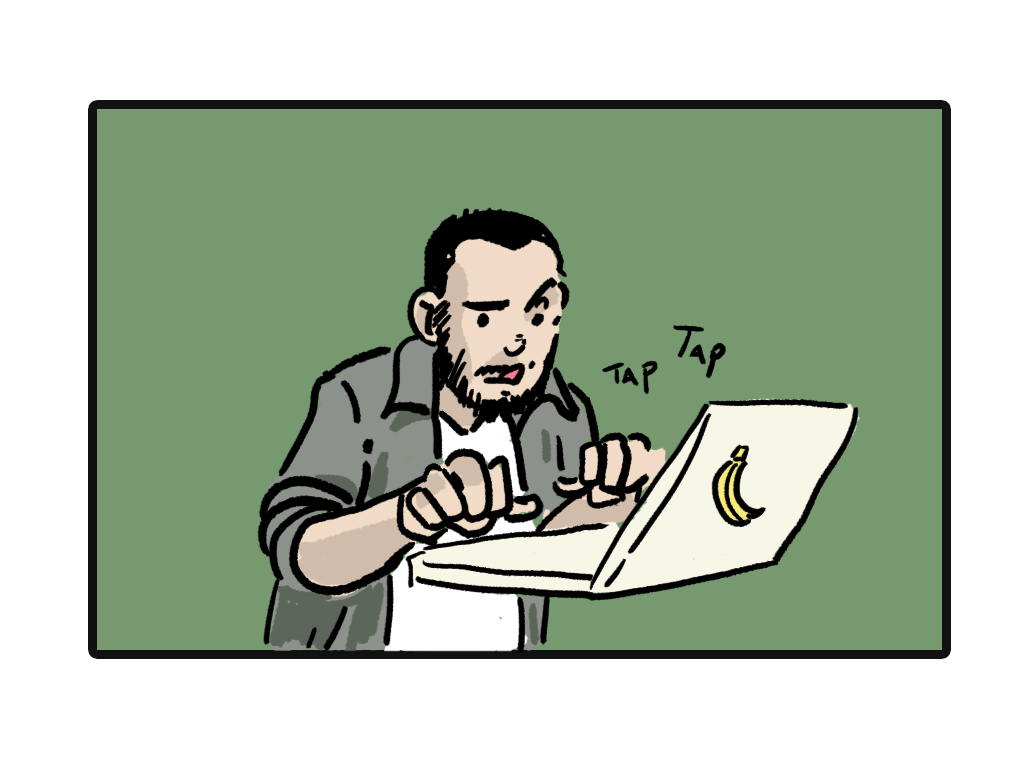
Next, you gather up all those ideas and poorly spelled notes that have been scribbled and typed in coffee shops and train journeys. The ones that make no sense, the ones where you swear you’ll know what you meant. These all somehow come together and form the script. Although I do write my own scripts, the example I’ve used here is from a strip that I worked on with my good friend and excellent writer, Erin Keepers. Erin and I had a relaxed approach to this particular script. Normally, scripts would be broken down into “Page 1 Panel 1,” etc. but seeing as this wasn’t the first time we had worked together, we both trusted each other enough to not be too restrictive and this allowed me to have a little more freedom when it came to drawing the page. Again, there’s a million different ways to do this.

Once I’m familiar enough with the script, it’s my job as an artist, to start bringing this comic to life.
JEEZ, finally. When’s this comic gonna say KAPOW and stuff?
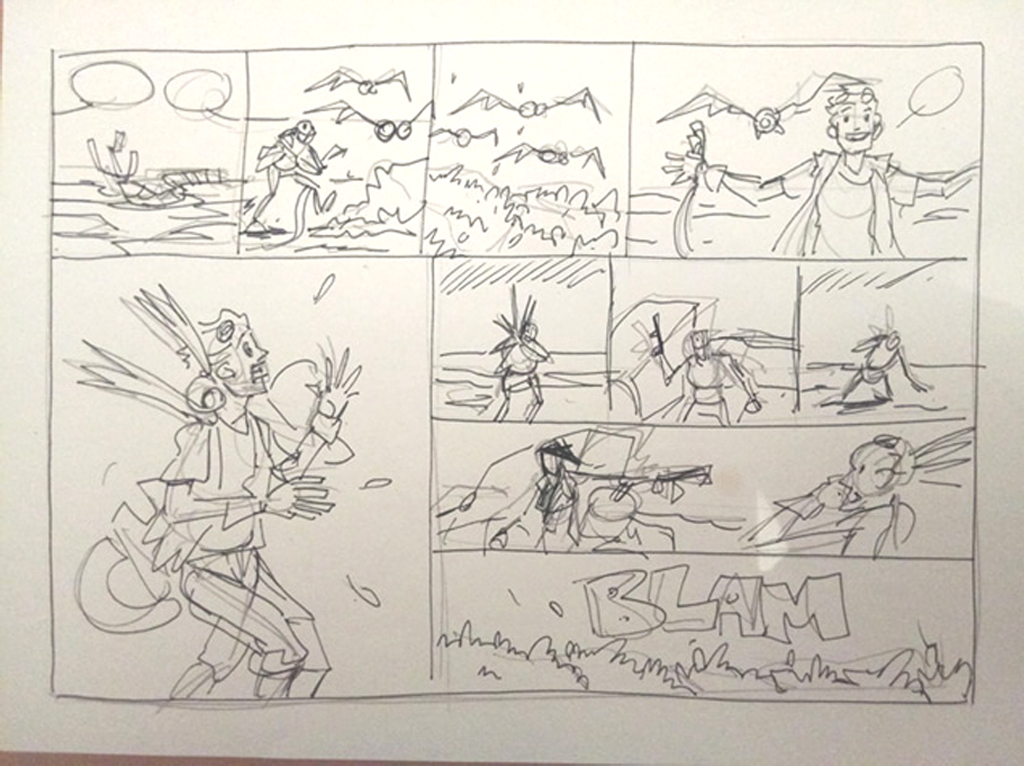
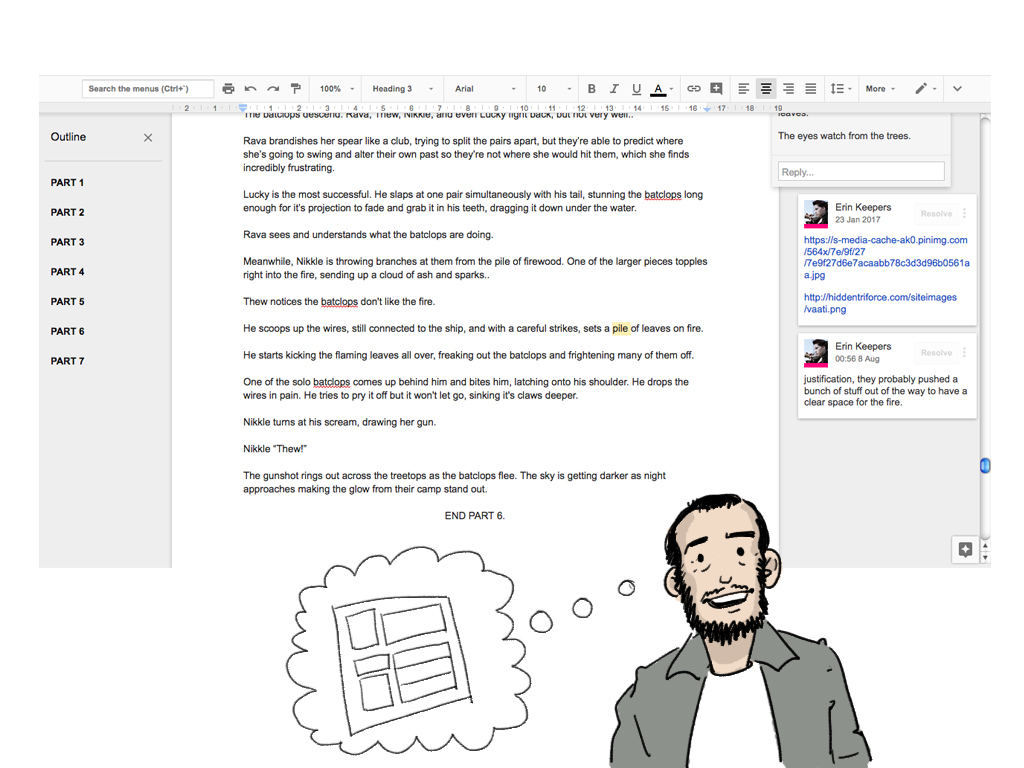
This stage is what is known as Thumbnailing or Roughs. Smaller, less detailed drawings (some might dare say, sketches) of the script are made to test out ideas, find the flow of the artwork. This is basically the prep stage. If you see a problem here with the roughs, now is the time to fix it. It doesn’t matter how well you can draw something, if there is a basic flaw with the page, it’s going to be a well drawn mistake.
Now I move onto a part of the process known as Pencilling. That’s when you take a pencil, better make sure that it’s your favourite one, and you draw all the information for the page in pencil. Pencilling, huh? Isn’t that what they do on them THE BATMAN comics? Yep, if a book is being released on a monthly schedule, then sometimes there just aren’t enough hours in the day. Books will often be split between teams of people to ensure that deadlines are met. Erin and I are not those people. This is a two person team.

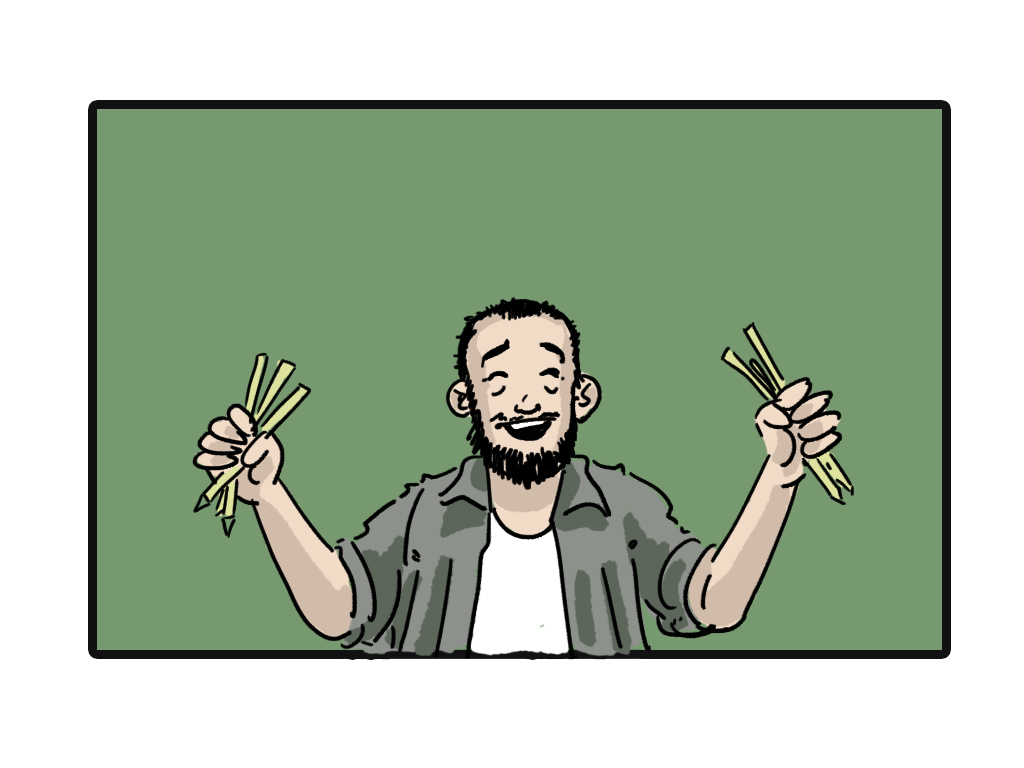
Unfortunately, I tend to work directly on top of my pencils. This basically means there is only a window of a few hours where my pencils actually exist. So I have no examples to show from this page. So here’s an image I found which I documented for whatever particular reason. Even though I tend to work quite loose, pencilling is one of my favourite parts of making a comic. This is where all the planning and groundwork starts to take shape and on top of that, I just like drawing.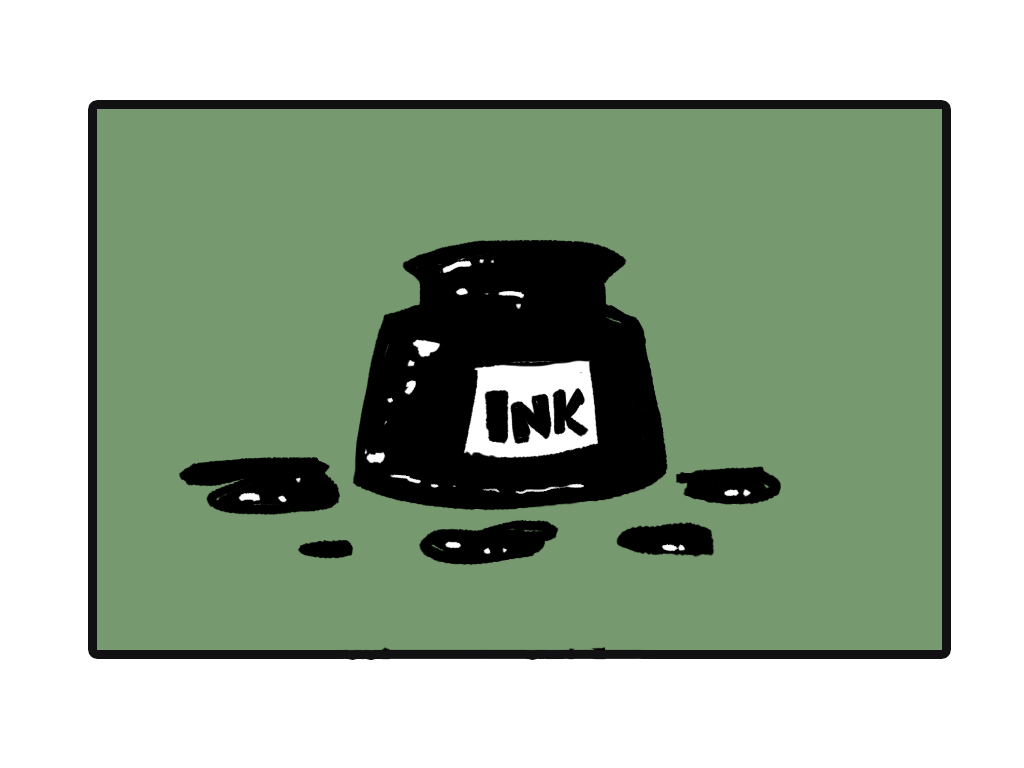

Another one of my favourite parts of making comics is Inking. Now the page starts to take on that comics style that many people will recognise. With the amazing leaps in technology, there are countless of ways to ink. Computers can replicate the line work of a brush so well now, the replication is barely noticeable. I’ve even seen artists make full length books on their tablet and soon enough, you will probably be even able to do this on your phone. Personally though, even if I do enjoy using these tools, I still prefer using an actual brush. There is a quality about it that I enjoy, putting down physical ink on to the page is incredibly satisfying.

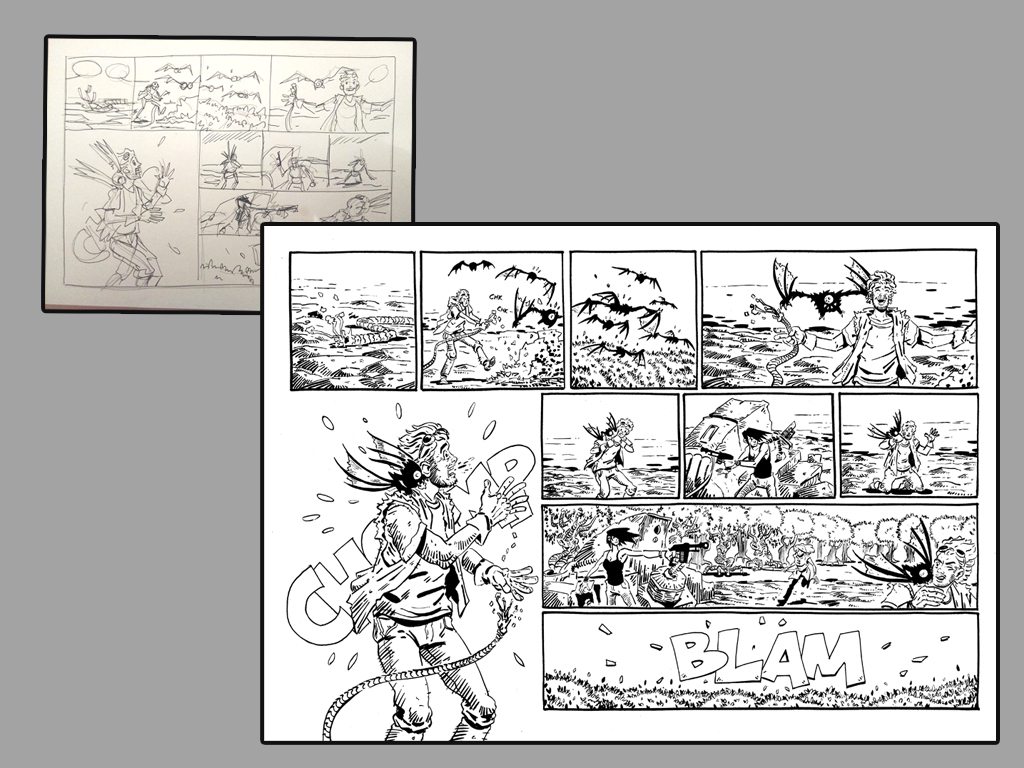
Once the ink has dried, we are left with a pretty nice piece of art but hold up, playa! We’re only half way there! I’ll tidy up the page and erase any pencils that are left uncovered by the ink. After that, I scan the page in and using software like Photoshop (other programs are available!), I’ll adjust the levels and balance, bringing out the black and tweaking any parts of the drawing that need a little fixing. Looking at the Thumbnail from way back at the start, the finished image isn’t too dis-similar from this original sketch, the idea is basically the same. The importance of thumbnails are often overlooked but they really help in the long run.
All right, we’re over the hump! In most instances, this is when the artwork would be passed on to another member of the team, a specialist in their art form, the Colourist. It’s the colourist’s role to not only just add colour to page but to add depth, mood and style. This begins with a process called Flatting and it is by the far the most mechanical aspect of making comics. The inks are separated from the image so that colour can be placed below them, then flat colours are placed in each panel, separating areas into their own distinct colour codes. This means that when a large are is selected, it can be quickly rendered without needing to worry about mess or overlapping with another part of the image. Rendering is where the artistic flair and personality comes in to play and now the page really starts to shine. Flatting may be seen as tedious or time consuming but the benefits are huge.
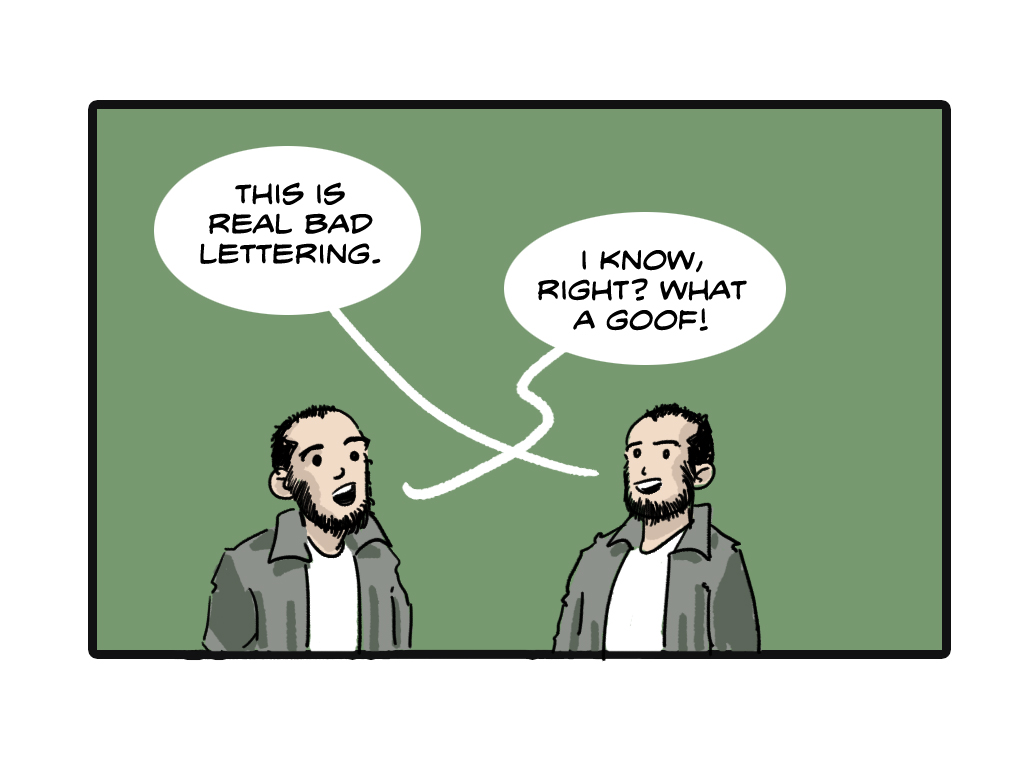
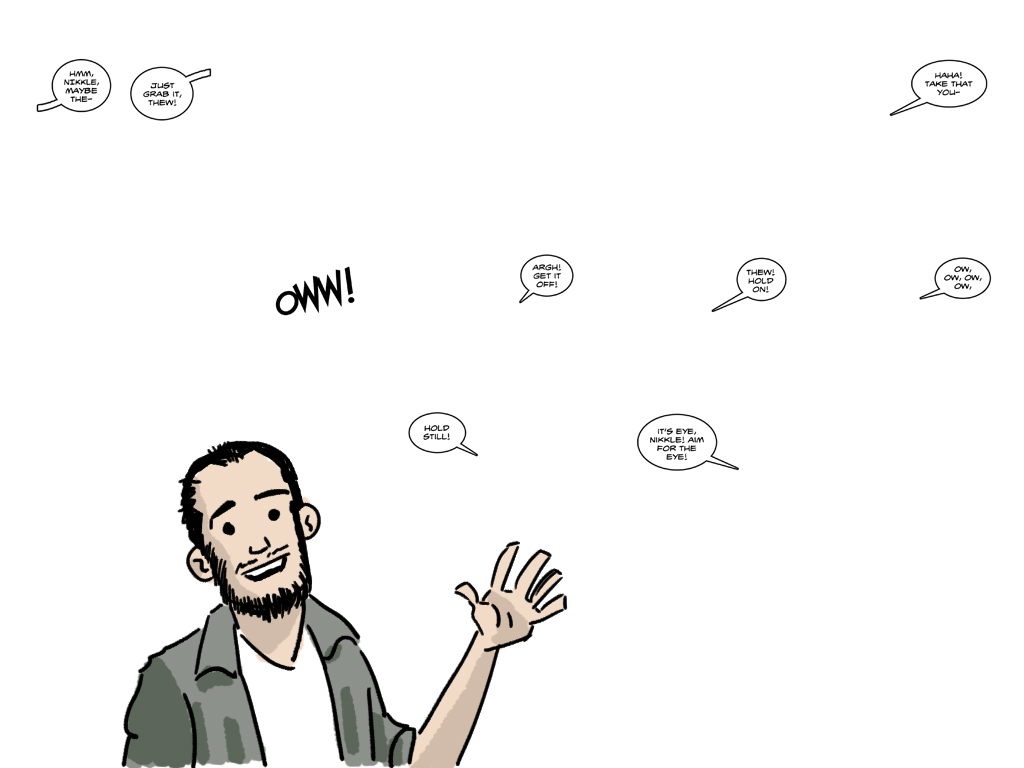
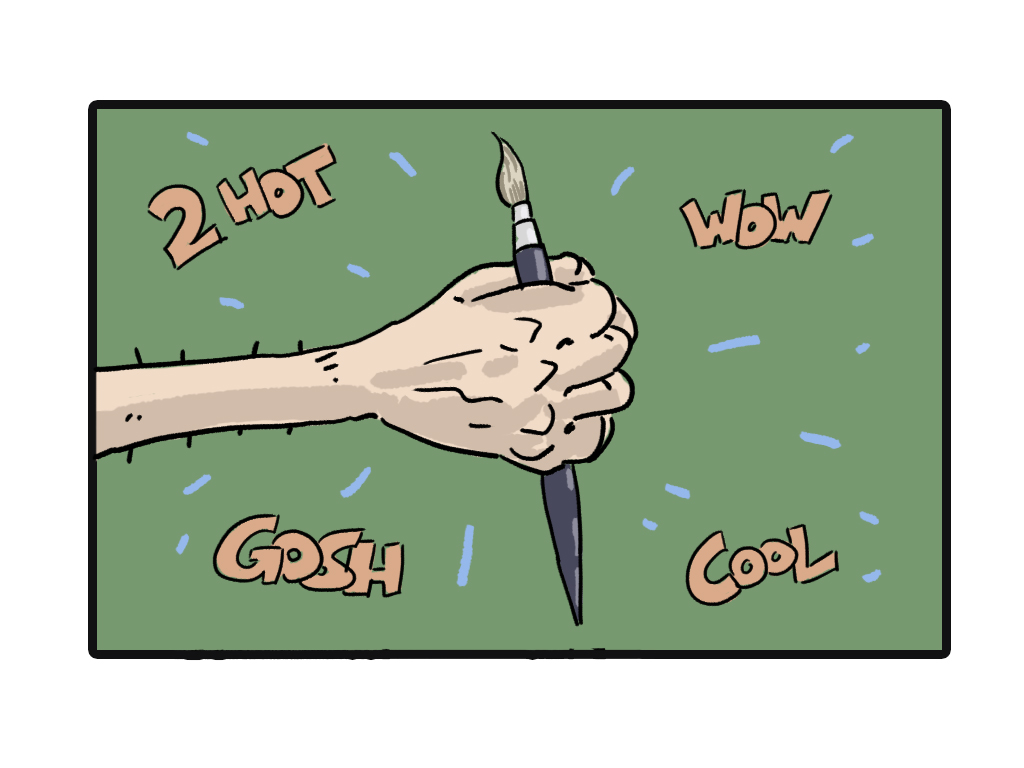
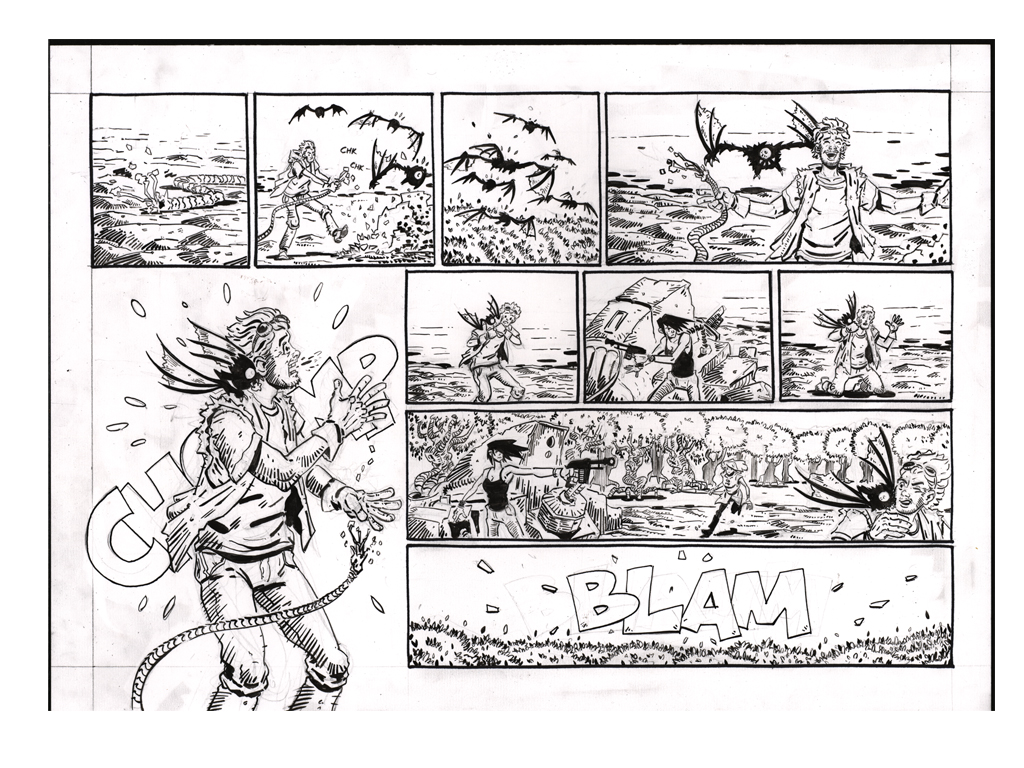
Lastly, the final part of the process! It’s only the most overlooked part of making a comic, Lettering! There are countless rules for lettering, and yeah you can kind of make it up as you go along and sometimes you can sort of get away with things but the most important part of making comics is the story telling. If the lettering is getting in the way or confusing the reader, then you’ve really fallen at the last hurdle. Bad lettering can bring a great book down and it’s amazing to see professional books using weak lettering. It’s important to familiarise yourself with some fundamentals, websites like Blambot, have a wealth of information and fonts, or if you have the money, find someone who just flat out knows their stuff. In this modern time of computers, it is quite rare for lettering to be hand drawn and this usually done as an artistic or stylistic choice. The majority of lettering will tend to be produced on the computer. The image here has some example text (as I wasn’t able to use the actual text at the time!) that has been placed on another separate layer from the artwork, placed in front of the inks and colours. Not much on it’s own but I didn’t wan’t to ruin the final reveal for the whole piece.
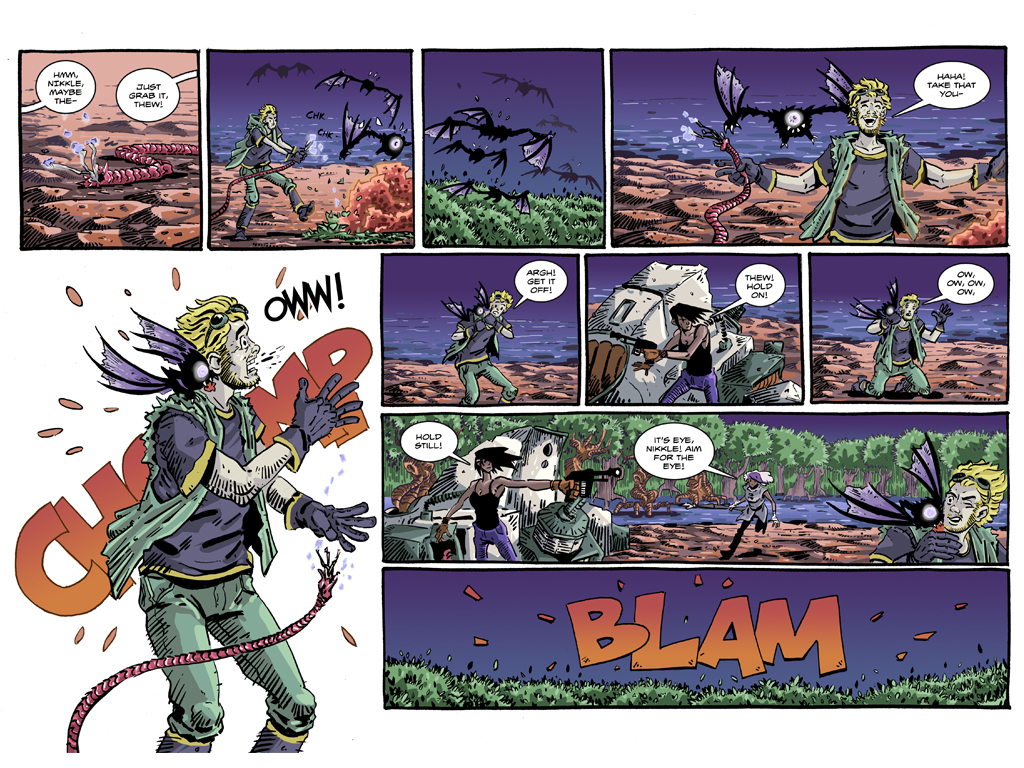
Here it is! The finished page! Wow. Now to get on with the other twenty or so pages. There are many different plates to spin when making a comic and yes, it can be tricky and yes, it can be stressful but that’s for the editor to worry about! What? I have no editor? Hold on, I am the editor? Aww, nuts.
You can find more of this comic in Vol 29 & 31 of Aces Weekly. And you can find me on Twitter or Instagram.
Watch Norrie’s Pecha Kucha talk where he first shared this Comics guide and read our spotlight interview with Rebecca Horner, discussing her process of making comics.